
You have the barbecue. Maybe it arrived in a box last weekend, maybe it has been sitting under a cover since the summer before last. Either way, the first proper cook is the one that decides whether this becomes a habit or a piece of garden furniture. What separates a calm, successful first attempt from a smoky, panicked one is usually not the grill itself, but a small set of tools that cost a fraction of what you will spend on charcoal this year.
A digital thermometer is the tool you should not cook without
Everything else here makes cooking easier. A thermometer makes it repeatable. Without one, you are guessing, and guessing is how chicken ends up dry on the outside and pink at the bone.
Buy an instant-read digital thermometer with a folding probe. Look for three things: a reading in under five seconds, a probe thin enough to slide into a sausage without leaving a crater, and a display you can actually read in bright daylight. Most kitchen thermometers can be checked for accuracy at home — stir the probe in a glass of iced water for thirty seconds and it should settle at or very near 0°C. If it is several degrees out, replace it.
Useful targets to cook to:
- Chicken and turkey: 74°C in the thickest part of the meat
- Burgers, sausages and anything made with minced meat: 71°C
- Whole cuts of pork: 63°C, then rest for three minutes
- Steak: around 52°C for rare, 55–57°C for medium rare, 60°C for medium
Remember that meat keeps climbing a few degrees while it rests, so pull it slightly before your target. Push the probe into the centre of the thickest part, away from bone, fat and the grate itself — for thin things like burgers, go in from the side.
If you plan on cooking anything long and slow, add a leave-in probe thermometer with a heatproof cable. It lets you watch the temperature through the lid without opening it every ten minutes, which is the single biggest reason beginners lose heat.
Tongs: buy long, buy spring-loaded
Short tongs are for salad. For a barbecue you want at least 30cm, ideally 40cm, in stainless steel with a locking ring so they stay shut in the drawer. Scalloped or notched tips grip a slippery chicken thigh; smooth flat tips do not. The very cheap ones flex in the middle and flick food into the coals, which is exactly the moment you will regret saving a few pounds.
Two pairs is not excessive. One for raw meat going on, one for cooked food coming off and being served. If you only buy one, get into the habit of never letting it touch raw meat and then cooked food without a wash in between. A silicone-tipped pair is a nice extra for vegetables and anything on a non-stick surface.
Heatproof gloves do two different jobs
There is a glove for handling hot metal and a glove for handling food, and they are not the same thing.
For grabbing the grate, lifting a lit chimney starter, adjusting vents or moving a hot cast-iron pan, you want a proper heat-resistant glove — leather welding gloves or aramid-knit gloves are the usual choices. Check the stated temperature rating before you trust them, and never grab hot metal with a damp or wet glove. The moisture turns to steam and heat moves through fast.
For food, thin nitrile gloves are far better: you can feel what you are doing, they are cheap, and they keep raw meat juices off your hands. Silicone oven gloves are excellent for pulling a tray out of the oven, but many are not rated for direct contact with burning coals, so do not assume.
A chimney starter, and no lighter fluid
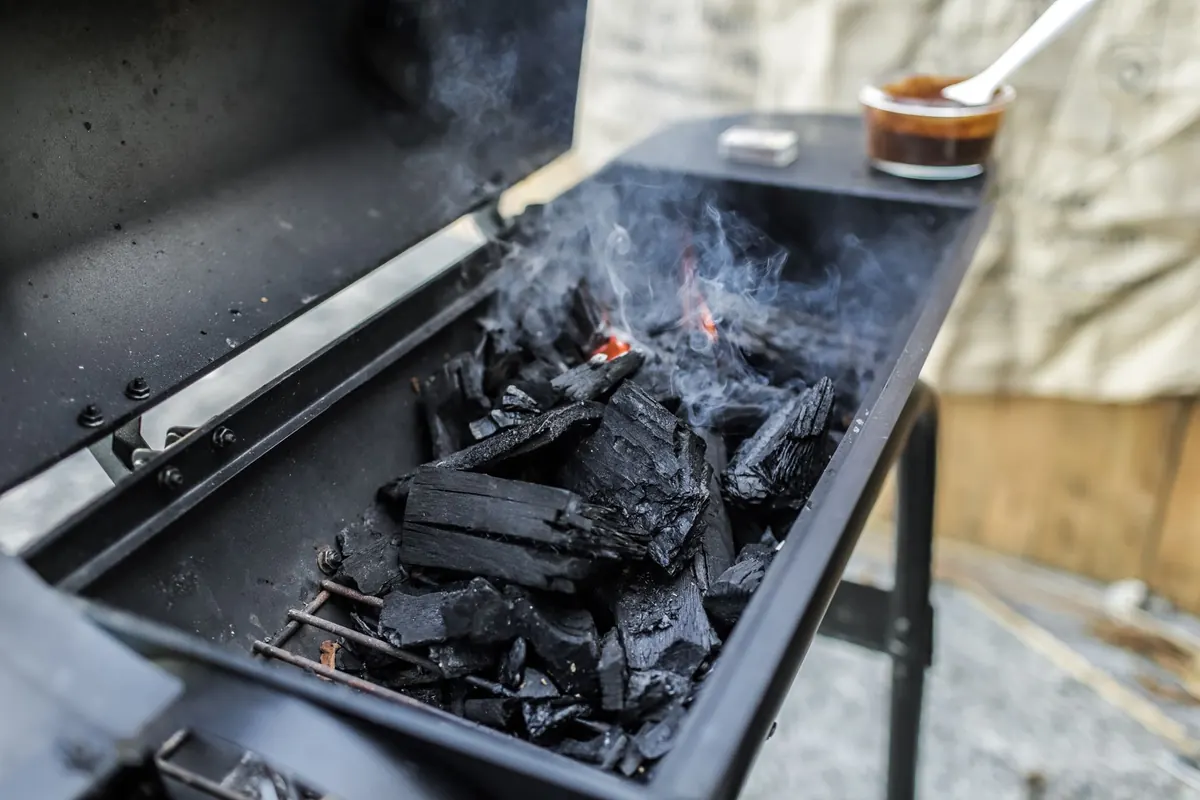
This is the best-value piece of kit in barbecue. A chimney starter is a metal tube with a grate at the bottom and a handle on the side. Fill the top with charcoal, put two firelighters on the grate underneath, light them and wait. In fifteen to twenty-five minutes the coals at the top will be grey and ashed over, and you tip them into the barbecue. No fluid, no fuel taste, no waiting around with a squirt bottle.
Two habits worth building from day one: pour the coals into a pile on one side of the barbecue rather than spreading them evenly, so you have a hot zone and a cooler zone; and leave spent ash for a couple of days before binning it. Warm ash in a plastic wheelie bin is a genuine fire risk.
Brushes, scrapers and grate care
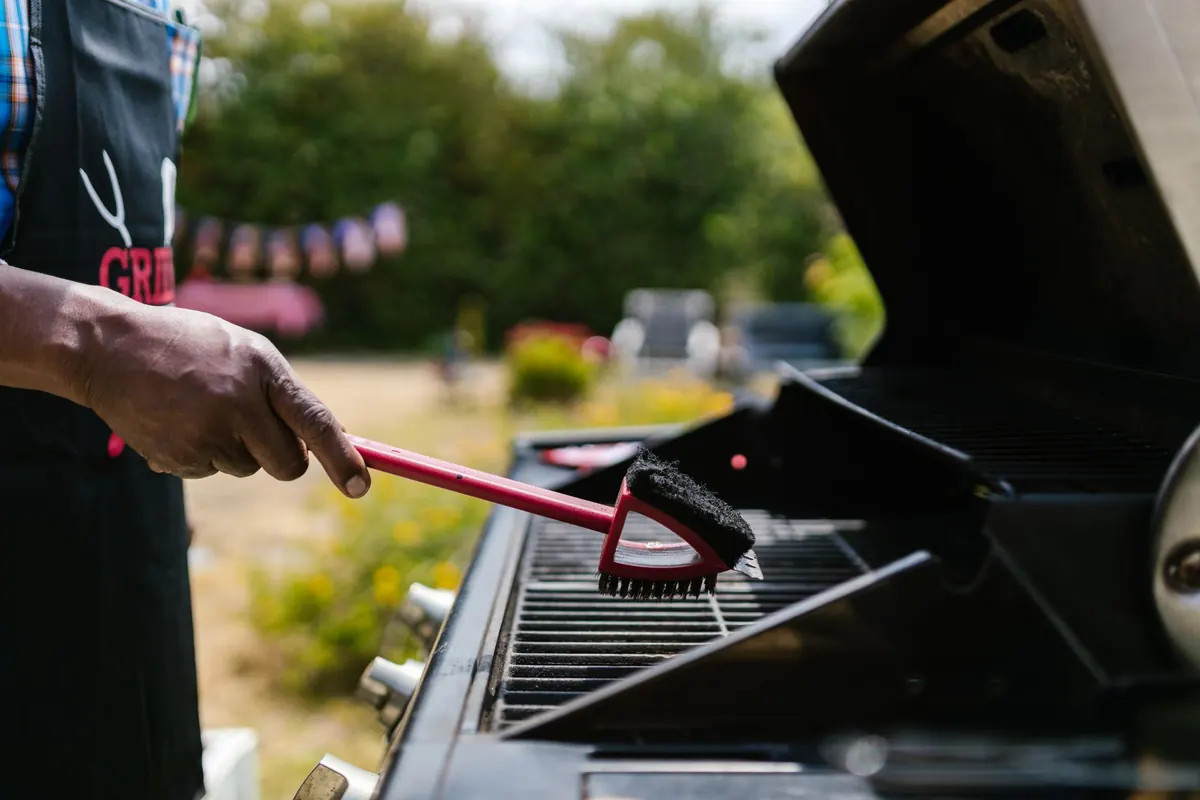
You need something to clean the grate, and a silicone brush for sauces. On the cleaning side, the traditional stiff wire brush has a known drawback: bristles can shed and end up in your food. Safer options include a coiled spring brush, a wooden grill scraper, or simply a wadded ball of foil held firmly in a pair of tongs.
Clean the grate while it is still hot, straight after cooking — the residue comes off in seconds then and sets like concrete by the next day. Follow with a folded paper towel dipped in a little oil, held in tongs, wiped across the bars. Keep a separate silicone basting brush for sauces, and never dip it back into the jar after it has touched raw marinade.
The starter checklist
- Instant-read digital thermometer
- Long spring-loaded tongs (two pairs)
- Heat-resistant glove for hot metal
- Nitrile gloves for raw meat
- Chimney starter and firelighters, or a long-reach lighter for gas
- Grate brush or scraper
- Silicone basting brush
- Two chopping boards — one for raw meat, one for everything else
Build the kit in the right order
If you are buying gradually, start with the thermometer and the tongs. They improve every single cook, on charcoal or gas, and you will use them indoors too. Add the chimney starter next if you are cooking over charcoal, then the gloves. Everything else can wait, and much of it turns up cheaply at garden centres, hardware shops or as gifts once people know you have taken up barbecuing.
One last thing, and it matters more than any accessory: keep raw meat away from cooked food, wash your hands and boards between the two, and cook to temperature rather than to a feeling. If you are ever unsure about safe cooking temperatures for a particular cut or dish, check the current guidance from the Food Standards Agency rather than relying on a recipe from a forum. Get those basics right, and the first cook will be good enough that you will be planning the second one before the coals have gone out.
Photo: stevepb / Pixabay
Related posts
More stories you’ll love reading