
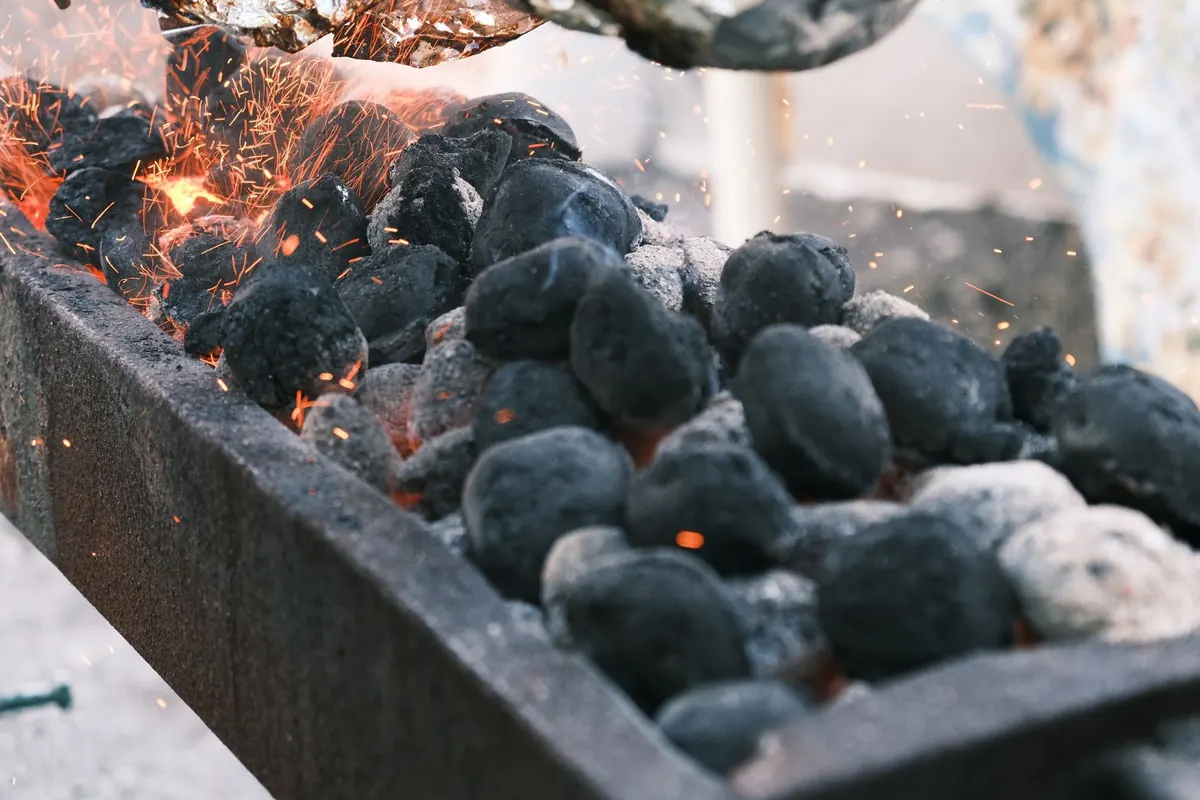
A chimney starter turns the fiddliest part of a barbecue into the easiest. Fill it, tuck a natural firelighter underneath, wait fifteen minutes, and you have a column of glowing coals ready to tip into the grill. No petrol tang on the sausages, no flare-ups from briquettes soaked in accelerant, no squinting at the fuel wondering whether it has properly caught. If you have only ever lit charcoal with lighter fluid, this is the method worth learning next.
Why Leave the Lighter Fluid in the Shed?
Lighter fluid works, up to a point. The trouble is the margin for error. Pour on too much and the coals stay damp with it: you get a chemical smell, thick black smoke, and flames licking up through the grate just as the food goes on. Pour on too little and you are back to matches and hope.
It also lights unevenly. Fluid catches the top layer fast while the middle of the pile stays cold, so the heat fades halfway through the cook and you end up adding more fuel to a fire that never really got going.
A chimney starter works from underneath. Air draws up through the column, the coals ignite each other from the bottom, and after a quarter of an hour you have fuel that is genuinely ready rather than merely alight. Natural firelighters — wood wool dipped in wax, or compressed sawdust blocks — burn cleanly and leave nothing behind in the flavour. Food cooked this way tastes of smoke and meat, which is rather the point.
What You Actually Need
- A chimney starter. The large size holds enough for a standard kettle barbecue. A smaller one suits a portable grill, and you can always light a second batch.
- Natural firelighters. Wood wool and wax, or sawdust blocks. Skip the paraffin cubes if you can; they work, but they smell and they defeat the object.
- Long matches or a long-reach lighter. The firelighter sits low down and you do not want your knuckles anywhere near it.
- Heatproof gloves. Leather gauntlets or proper barbecue gloves. Not washing-up gloves, and not a tea towel.
- Charcoal. Lumpwood lights faster and burns hotter; briquettes last longer and hold their shape. Either is fine, and you will develop a preference quickly.
- A non-flammable surface. Paving slabs, bare earth, or a metal tray. Never grass, decking, or a plastic table.
Lighting the Chimney, Step by Step
- Stand the chimney upright on your non-flammable surface. Check there is nothing above it — no low branches, no washing line, no overhanging parasol.
- Turn it over and place one or two firelighters on the grate at the bottom. Snap a large block in half so it sits flat.
- Set the chimney back the right way up, or if yours has a base plate, leave the firelighter on the plate and lower the chimney over it.
- Fill with charcoal and level the top rather than heaping it. Keep the upper row of holes clear so air can move through.
- Light the firelighter through the bottom holes, or through the gap beneath the base. It should catch within a few seconds.
- Leave it alone for ten to fifteen minutes. Do not prod it, do not add more fuel, and do not tip it out early.
If the firelighter keeps going out, look at where the chimney is standing. Cold, damp concrete or a puddle underneath will kill it every time. Move to dry paving and try again.
Knowing When the Coals Are Ready
The colour test
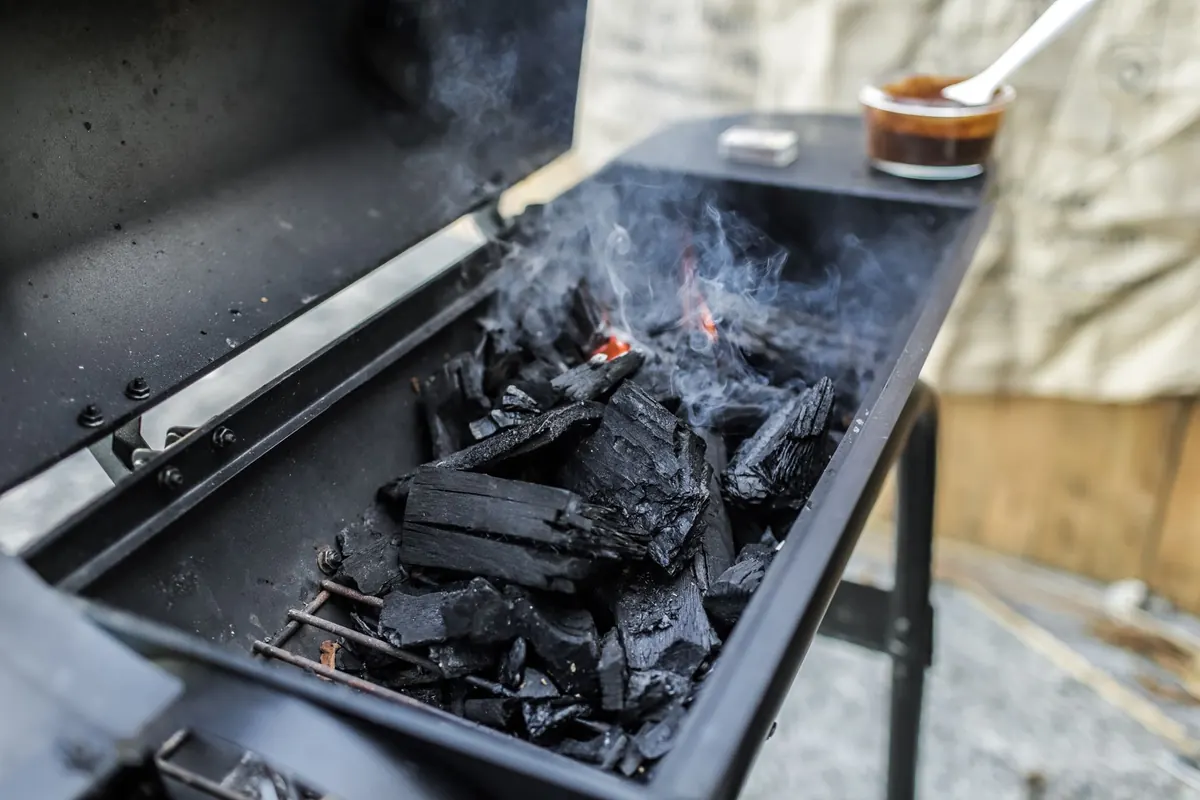
Look down into the chimney. Ready coals show a grey, ashy coat with a clear orange glow beneath, and you should see the glow through the lower holes too. If the top still looks black and glossy, give it another five minutes. Beginners almost always tip too early.
The hand test
Once the coals are in the barbecue, hold your palm flat at grill height and count steadily. Two or three seconds before you have to pull away is a hot fire, four to five is medium, six or more is gentle. This is rough, but it is consistent enough to cook by, and it costs nothing.
Arranging the Coals for Cooking
Tip the chimney out with the gloves on, then spread the coals with long tongs. The most useful layout for a beginner is two zones: bank roughly two-thirds of the fuel on one side and leave the other side empty. The hot side is for colour and crust; the empty side is your safety net when something starts to catch.
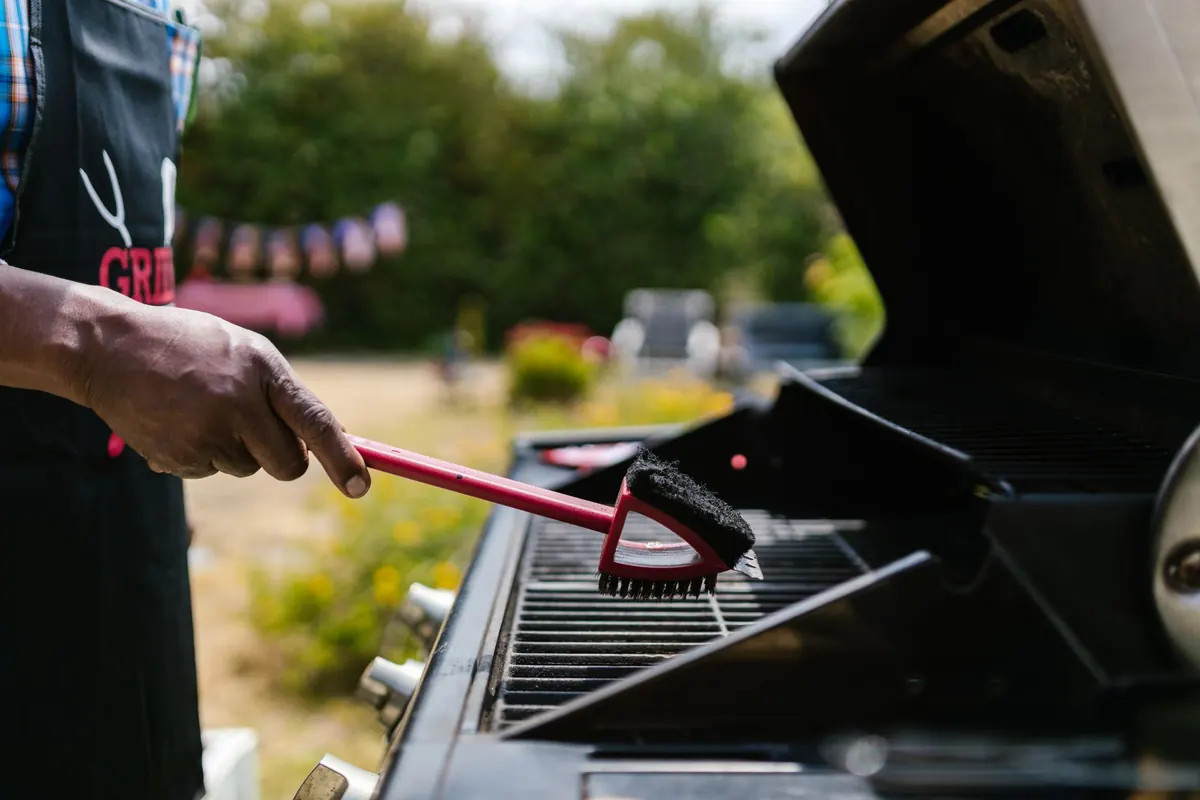
Put the grate on, close the lid, and leave it for five minutes with the vents open. That heats the metal and burns off whatever was left from last time. Give the bars a firm brush, oil them lightly with a folded kitchen roll held in tongs, and you are ready.
When It Goes Wrong
- Windy day. Shelter the chimney behind a wall or a shed. Wind strips heat from the column and slows everything down.
- Damp or old charcoal. It hisses, smokes heavily, and struggles to catch. Store charcoal in a dry place and buy in quantities you will use within a season.
- Coals dying mid-cook. Add a handful of unlit charcoal to the edge of the fire and give it ten minutes. Do not stir the whole bed around.
- Too much smoke. Usually means the fuel is not fully lit yet. Wait for it to settle before putting food anywhere near the grate.
Your First Cook: Keep It Simple
Never light charcoal indoors, in a garage, under a canopy, or in a tent. Burning charcoal gives off carbon monoxide, which is invisible and genuinely dangerous. Outdoors, in the open, every time.
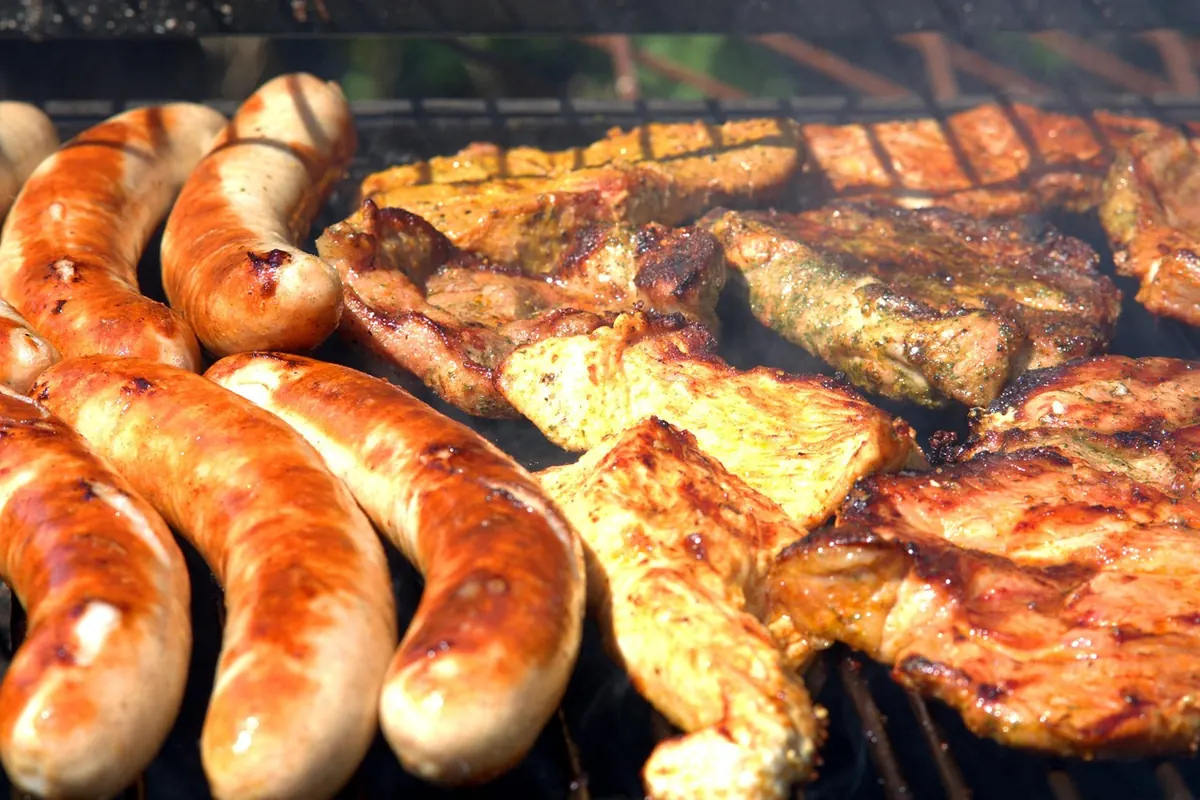
For a first attempt, choose forgiving food: sausages, chicken thighs, halloumi, thick slices of aubergine or pepper. Start them over the hot zone, then slide them across to the empty side if they colour faster than they cook through. Keep the lid on more than you think you should, resist turning everything constantly, and let the coals do the work.
When you have finished eating, close the vents and leave the barbecue to cool completely. Clear the ash the next day, once it is cold, and store the barbecue somewhere dry. The chimney starter will need nothing more than a shake out. Light it the same way next weekend and the whole business will take you five minutes of actual effort — which is exactly what a barbecue should cost.
Related posts
More stories you’ll love reading